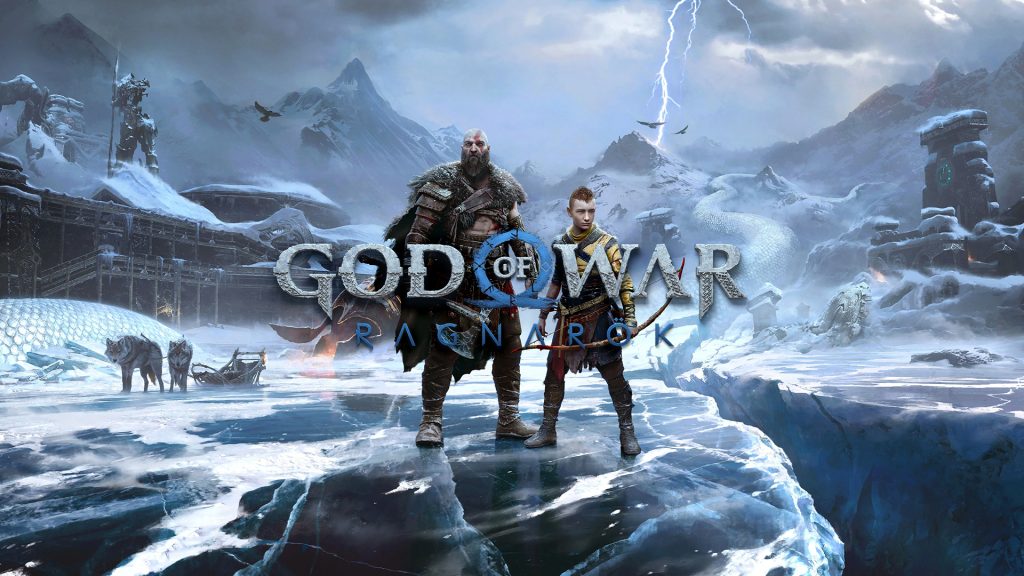
Vanaheim is one of the most mysterious realms in God of War Ragnarök. Many players complete the main story without realizing that it conceals one of the most expansive secret areas in the game — the Crater. This massive, hidden region is filled with post-game content, rare loot, and some of the best armor sets available.
Unlocking it takes time, but the rewards — both mechanical and narrative — make it one of the most satisfying discoveries in the entire Norse saga. Here’s how to reach it, what you’ll find inside, and how to master every hidden corner of this untamed jungle.
Contents
How to Unlock the Crater Region in Vanaheim
The Crater isn’t accessible during the main story. It unlocks later through a side quest that most players miss.
-
Complete the main mission “Creatures of Prophecy.”
This story milestone expands your exploration options across Vanaheim, allowing you to revisit the realm after the main campaign. -
Accept the side quest “Scent of Survival.”
When you return to Vanaheim, you’ll encounter a quest involving Freya and a wolf. Completing it unlocks a new area in the northeast corner of the map. -
Travel to the Crater.
Once the quest is done, you can use your boat to reach a hidden river delta leading to the Crater region. The new area will be marked with multiple sub-zones: The Plains, The Jungle, and The Sinkholes.
From here, the real secrets begin.
The Plains: Heart of the Crater
The Plains form the central section of this massive hidden region. They’re an open battleground filled with dangerous wildlife, traps, and some of the game’s most rewarding collectibles.
What to Find:
-
A Legendary Chest containing Honor the Fallen, a powerful runic attack for the Draupnir Spear.
-
Nornir Chests, Odin’s Ravens, and Buried Treasures scattered across cliffs and ruins.
-
Dragon Hunts that unlock rare crafting materials and high-tier enchantments.
To survive here, focus on upgrading your Atreus or Freya companion skills — their assistance in crowd control makes dragon and stalker encounters much more manageable.
The Jungle: Secrets of Water and Time
The Jungle is the most complex area in the Crater. It’s a dense maze of vines, waterfalls, and ruined Vanir structures. What makes it special is the dynamic water control system. By manipulating dams and floodgates, you can change the entire environment, opening or closing routes that reveal new treasures.
How to Explore Efficiently:
-
Open the main dam to lower the water level and expose underground tunnels.
-
Revisit the area after each floodgate manipulation — different collectibles appear depending on water height.
-
At night, several rare enemies and hidden lore tablets become visible.
The Jungle also hides one of the most powerful crafting resources in the game: Crystalline Shards. These glowing orange crystals can be purified later for rare materials and armor upgrades.
The Wishing Well: The Hidden Reward Zone
Deep inside the Jungle lies the Wishing Well, a serene, glowing location with unique mechanics. It acts as a magical recycler — throw in Purified Crystalline and receive high-tier resources, Hacksilver, or enchantments in return.
How to Use the Well:
-
Collect orange Crystalline Shards from glowing formations across the Crater.
-
Take them to a Dwarven blacksmith to purify them.
-
Return to the Wishing Well and toss them in to receive random rare rewards.
Possible drops include crafting components for the Dragon Scaled Armor, rare Runic gems, and unique cosmetic attachments. The Wishing Well becomes a vital part of post-game resource farming once you understand how it cycles rewards.
Troll Statues and the Steinbjörn Armor Set
Scattered throughout the Crater and nearby regions are massive troll statues that appear inert — until you obtain the Mystical Heirloom relic. This relic awakens them, unlocking one of the toughest optional fights in the game.
How to Complete the Troll Quest:
-
Find the Mystical Heirloom relic near the Derelict Outpost.
-
Visit the three troll statue locations — The Forbidden Sands, Noatún’s Garden, and the Derelict Outpost.
-
Activate each statue to battle the trolls.
-
Defeat all three to collect the Slumber Stones.
-
Bring these stones to a blacksmith to craft the Steinbjörn Armor Set.
This armor boasts incredibly high defense and a hidden passive that slowly regenerates health after taking heavy damage. It’s one of the best late-game sets for high-difficulty modes.
The Sinkholes: The Forgotten Depths
The Sinkholes are the most dangerous of the three Crater sub-zones. They’re home to subterranean creatures and dragons that roam freely through narrow caverns. Here, exploration is vertical — expect to climb, drop, and swing across hidden ledges.
Key Secrets:
-
A hidden Odin’s Raven perched near the central waterfall cave.
-
Legendary Chests containing amulet fragments for advanced build customization.
-
Optional Berserker Gravestones that challenge your skill and reward fragments of the Berserker set.
If you’re hunting 100% completion, the Sinkholes are where most players miss items. Use the Mystic Gateways scattered throughout to backtrack efficiently between sub-areas.
Why the Crater Is the Best Hidden Area in Ragnarök
The Crater is more than a hidden zone — it’s a love letter to exploration. It offers new lore about Freya’s past, hidden dialogues with Mimir, and entire quest chains that expand the story beyond the main campaign.
What Makes It Special:
-
Every system — combat, exploration, crafting — interlocks seamlessly.
-
It provides a true “endgame loop” without needing DLC.
-
Dynamic time-of-day changes reveal different enemies and paths.
-
The storytelling deepens Kratos’s connection to the world and its remnants of gods and beasts.
For players who think they’ve seen everything Ragnarök has to offer, the Crater proves there’s always more to uncover — even after saving the realms.

